Getting started
We will start by creating a new project in a new folder.
- Create a new directory to contain all of the files that will make up your XJTAG project.
- Extract the zip file manuallyCreateTutorial4.zip to the directory you created. This contains the BSDL files for the JTAG devices and the schematic, which we will refer to.
- Open XJDeveloper, and click the
 New Project button.
 - Create a new project in the directory you created and click OK.
- Click on the
 Create without netlist... button in the toolbar under the (empty) Boards list.
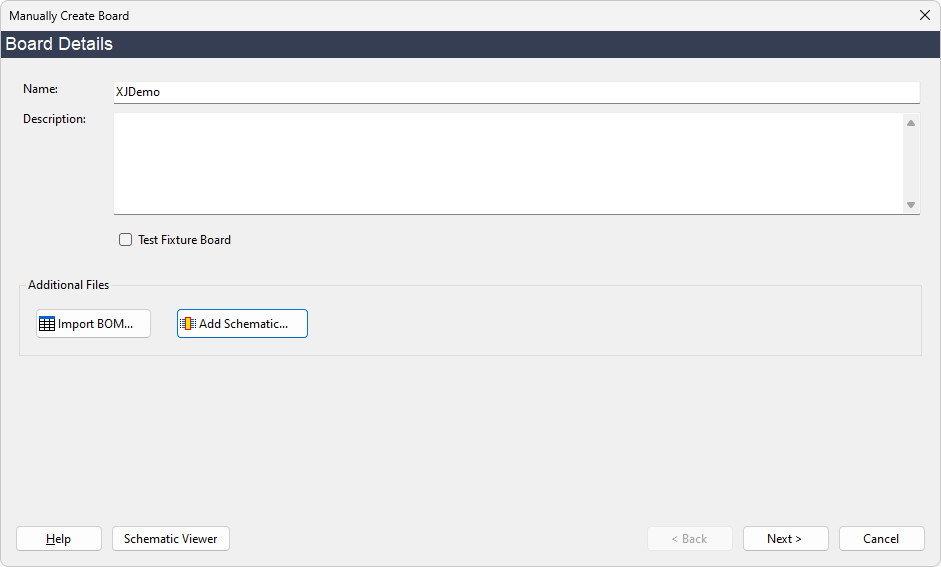
This will now display the Manually Create Board dialog box. From here, you can add any BOM or schematic information you have for the board. We will not use the BOM import functionality here - importing BOM information is covered in the main XJDeveloper tutorial.
- Set the name of the board to XJDemo.
- Click the
 Add Schematic... button, and select XJDemo v4_2.pdf from the Open File dialog.
 - Click OK on the Assign Schematic Files dialog.
- Click on the Next > button.
XJTAG v4.3.0