Constant Pins
To manage constant pins in the Analyser Screen in XJDeveloper, refer to the Constant Pins Screen.
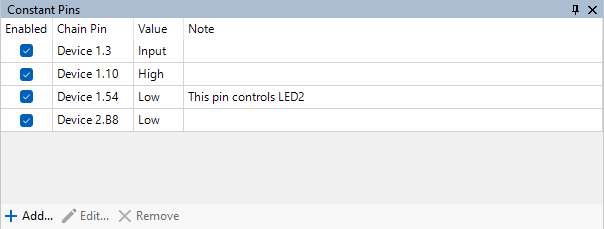
This window allows the user to define constant pins. Marking a pin as constant is a suggestion rather than a command - it is possible to override a constant pin from the Chain View, but a dialog will pop up to confirm this action.
The columns in this windows show for each pin whether the constant property of the pin is enabled, the constant value set, and any notes that have been made. Clicking the checkbox will toggle whether or not the constant pin is enabled.
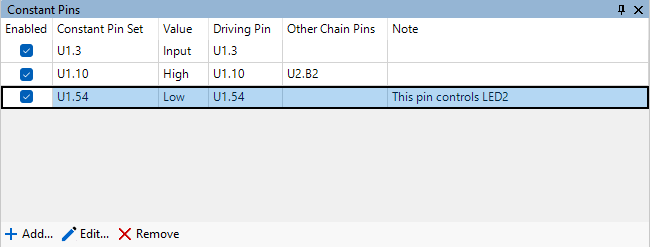
Additionally, if you are running an XJDeveloper project or from an XJPack file, two extra columns are displayed. The Driving Pin column shows which pin (if any) is driving the selected pin, and the Other Chain Pins column shows which pins, if any, are on the same net.
Adding Constant Pins
To add a pin to the constant pins window, either click  Add... or click and drag the pin into the window to bring up the Select Pin and State dialog.
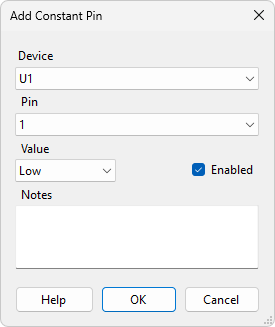
The options on this dialog are:
- Device - selects which device the pin is on.
- Pin - selects which pin to add to the window.
- Value - selects the value of the pin: Low, High or Input.
- Enabled - whether or not the constant property of the selected pin is enabled. This can be changed later from the window.
- Note - add a note to be displayed next to the pin.
Editing Constant Pins
To edit the selected pin, click  Edit.... This brings up the Select Pin and State dialog.
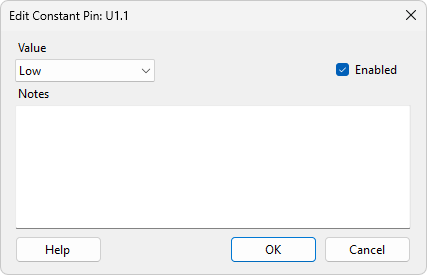
The options on this dialog work in the same way as adding a pin, except that the pin is already specified.
Removing Constant Pins
Click  Remove to remove the selected pin from the constant pins window.
XJTAG v4.3.0