Revise Board Dialog
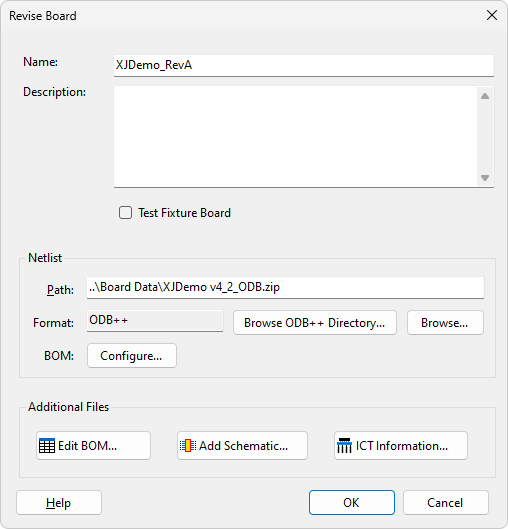
The Revise Board Dialog allows for a board's information to be updated for a revision. By default the board name is updated with any suffix defined in the New Revision Dialog. The rest of the dialog is populated with the board's original data, with the exception of any ICT information. If the board has ICT information then it is automatically removed and the warning message below is displayed.
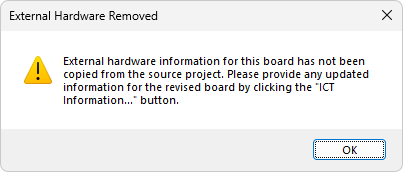
The ICT information is removed because it is likely to need updating if the board is revised. This helps prevent any accidental damage to external test hardware due to outdated information after revising a project.
The board name can be the same as the source project's board name, which can be useful if you're sharing XJEase code files that contain board name references.
The revised netlist can be set by either typing in the file path manually or by using one of the two browse options. The Browse ODB++ Directory... button allows for a directory containing an ODB++ netlist to be selected. Alternatively a netlist file can by selected by clicking Browse....
Clicking the BOM Configure... button launches the Import BOM dialog, allowing BOM information contained in the netlist to be configured.
Clicking the  Import BOM... button launches the Import BOM dialog, allowing any existing BOM file to be replaced with a revised version.
Clicking the  Add Schematic... button launches the Assign Schematic Files Dialog, allowing any schematic files to be replaced with revised versions.
Clicking the  ICT Information... button launches the Edit ICT Information Dialog, allowing updated ICT machine information for the revised board to be added.
Importing Revised BOM Information
It is recommended that any revised BOM information added contains the same fields as the source project BOM information. Comparisons of data in shared BOM fields between the source and revision projects are employed as part of the revision process. To assist with this an additional feature is available while importing BOM data through the Import BOM Dialog from the Revise Board Dialog. A Previous BOM... button will be available in the top-right corner of the Assign Columns page. Clicking this button launches a window displaying the BOM data for the board in the source project. For each BOM field the file and column from which the BOM data was originally extracted is displayed. This can be useful in making sure the correct BOM data is imported for the revised board.
XJTAG v4.3.0