Import Existing Board Dialog
The Import Existing Board File Dialog, shown below, allows you to add a board that has already been created in another project. The dialog will prompt for the path to the board file and for a name for this board. A description of the board can also be added if required.
You can only use a board file once in a project. If you have a project that uses the same board multiple times you must make a copy of the board file yourself.
XJDeveloper will add a reference to the board to the project and no files will be copied to the project directory. You must therefore be careful if you make changes to this board as you will affect other projects using the same board.
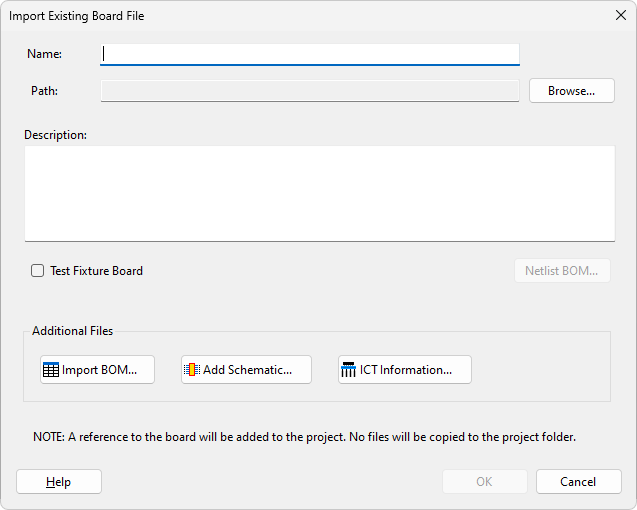
Checking the Test Fixture Board check box marks the board as a test fixture board. This implies that it is a board connected to a UUT board to extend test coverage and is not directly being tested. It is possible to reduce the fault information output by the connection test for boards marked as test fixture board by changing the "Reduce output for test fixture boards" setting in the Connection Test Settings.
Clicking the Netlist BOM... button launches the Import BOM dialog, allowing any BOM information contained in the netlist to be configured. This is disabled if the netlist does not contain any extractable BOM information.
Clicking the  Import BOM... button launches the Import BOM dialog that allows you to add BOM information about your board on creation.
Clicking the  Add Schematic... button launches the Assign Schematic Files Dialog that allows you to assign any schematic PDF files to your board on creation.
For boards with PDFs assigned, the Schematic Viewer can be used to visualise elements on the boards schematic.
Clicking the  ICT Information... button launches the Edit ICT Information Dialog, which allows you to select the type of ICT machine to be associated with the board and import or edit the information about the ICT machine.
XJTAG v4.3.0