Pin List – View the properties for all pins on a device
The Pin List in XJAnalyser provides a way of viewing the properties of all the pins on one of the devices in your JTAG chain.
Displaying the Pin List
The Pin List can be displayed by clicking  View Pin List on the toolbar or selecting Pin List from the View menu.
- Click View Pin List on the toolbar.
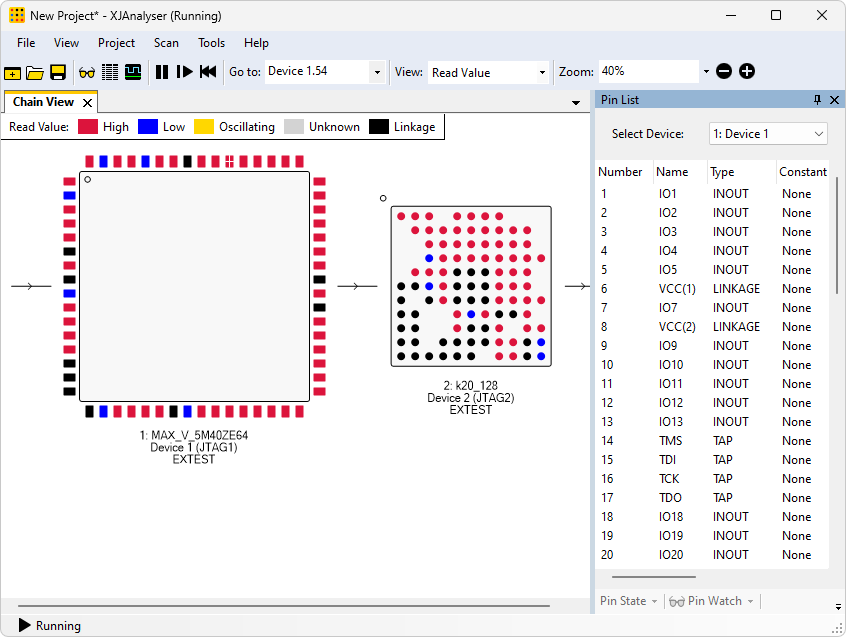
Columns
The columns in the Pin List represent various properties of each pin. You can specify which columns you want to display by right-clicking anywhere in this pane and selecting Columns from the menu.
- Right-click somewhere in the Pin List and select Columns from the popup menu.
- You can now see which columns are currently displayed in the Pin List. Click Type to remove the tick against that item. The Pin List is redrawn with the Type column removed.
Go to Pin
To find a particular pin in the Chain View, right-click any pin in the Pin List and select  Go to Pin.
- Select Device 2 from the Pin List device selection dropdown list.
- Right-click any pin, and click Go to Pin. If necessary, XJAnalyser will adjust what is visible in the Chain View to show the selected pin. It will then highlight the pin by drawing a circle around it.
Driving Pins
Pins can be driven from the Pin List in the same two ways as they can be driven from the Chain View:
- Right-click a pin to display the Pin Menu, and choose a value to drive the pin to.
- Double-click a pin to toggle its value. If a pin is being read high, double-clicking the pin will drive it low and vice-versa.
The Pin List can also be used to set the values of multiple pins simultaneously. By holding Ctrl or Shift when clicking pins, multiple pins can be selected. If all the selected pins can be driven, the Pin Menu can be used to set their driven value.
XJTAG v4.3.0