Device Programming
XJAnalyser can also be used as a graphical interface for programming devices using pre-created SVF and STAPL files.
- Click
 Pause on the toolbar to stop the XJAnalyser from scanning the chain.
 - In the Project menu, click Run SVF or STAPL file... to open the Run File dialog.
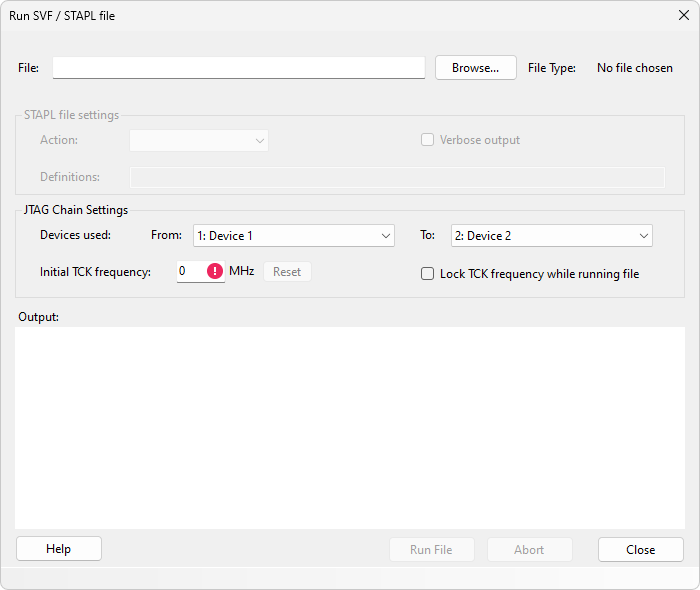
You can use this dialog to specify the file that you want to run and the range of devices to be programmed.
- Click Browse... to locate the programming file.
- Select the file DemoBoard4.stapl. It can be found in Demo Board v4\Programming Files\CPLD.
- Ensure the Chain Configuration device is set to be Chain 1.
- Ensure the From device is set to be JTAG1-1.
- Set the To device to be JTAG1-1.
- Make sure 10 is entered as the Initial TCK Frequency.
- Click Run File. The bar at the bottom of the dialog indicates the progress through the programming process.
- When the programming has finished, the LEDs of the XJDemo board will act as a spirit level. Tilting the board will cause the LEDs displayed to change.
Summary
This is the end of the XJAnalyser tutorial. In it you have learned how simple it is to create projects, and how to interact with your hardware by setting and reading pins, and programming devices.
Now, you may wish to read more of the XJAnalyser help to learn more about the program and its features, or simply start using XJAnalyser to investigate your own hardware.
XJTAG v4.3.0