Stage 3: JTAG Chain
After identifying the power nets, the next stage is to review the JTAG chain. If you have the same JTAG devices on the board in both the previous and new revisions, this is another step that should require very little work.
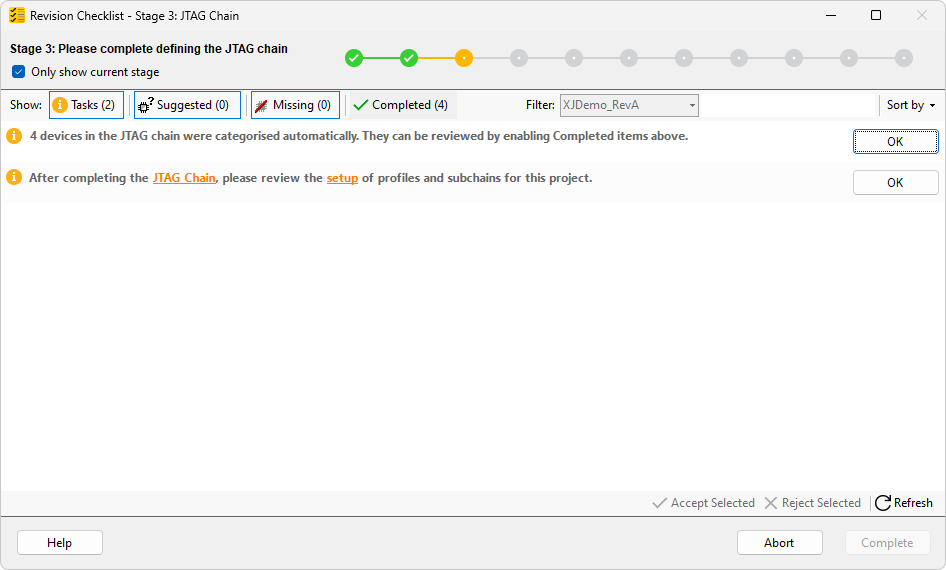
Figure 17: Define the JTAG Chain
As before with the Power Nets, the JTAG chain step can also include any connecting devices such as series resistors or buffers that are part of the chain.
If any parts of the JTAG chains have changed, these will appear in this stage and should be dealt with first. If any changes have been made to the JTAG chains by adding, removing or moving JTAG devices, these can be configured through XJDeveloper by going to the JTAG Chain screen – the same way the chains were configured during initial creation. Once the JTAG chains are configured, review the profiles and subchains. If you have made any changes, click Refresh to update the wizard.
- More information is available about defining the JTAG Chains.
Once all items in the list are approved, the system will automatically continue.
XJTAG v4.3.0