Enhanced Testing
To help track down a fault, a user with the relevant Enhanced Testing privilege enabled can run one or more tests repeatedly, using the panel on the right side of the main testing screen.
- In the right panel, at the bottom of the list of tests, choose
 None from the
  Presets dropdown menu.
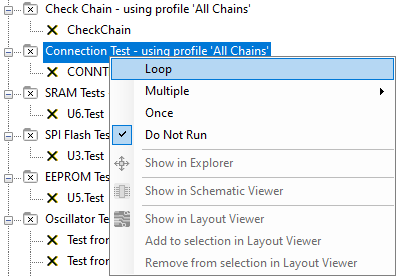
 - In the list of tests, right-click on Connection Test and select Loop.
To make it clearer, we will set XJRunner to stop at the point that a failure occurs during testing.
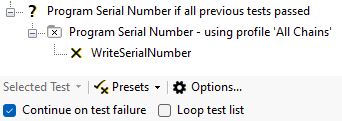
- At the bottom of the list of tests, make sure that the Continue on test failure checkbox is not ticked.
- Make sure all the jumpers are back in their default positions on the fault-creation jumpers (JP1 or FCJ1 depending on XJDemo board version) so that the test can run without immediately detecting a fault.
- Click
 Run.
Run. - Click Yes on the message box that pops up.
The connection test will now run continuously until you press  Stop or it finds an error. This sort of testing is good for tracking down intermittent faults.
- Remove the jumper labelled JTAG Open from FCJ1.
Connection Test will report the error and stop.
Sometimes it is good to stop when a failure is found; other times it is convenient to be able to keep repeating the test while the user makes adjustments:
- Select Continue on test failure, at the bottom of the list of tests.
- With the jumper still removed from JP1 / FCJ1, click Run.
The tests will now continue running until you click Stop, even though the test is failing.
- Replace the missing jumper on FCJ1.
- The Connection Test should now start reporting Passed.
- Click Stop.
XJTAG v4.3.0