Setting a Constant Pin
To set a Constant Pin in your project, select the  Constant Pins screen in the Setup panel on the left side of XJDeveloper:
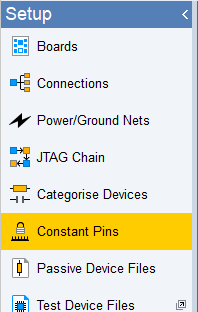
Figure 1: Constant Pins screen button
Select the  Add Constant Pin... button in the list or the Add... button at the bottom of the main panel to open the Select Pin and State dialog box:
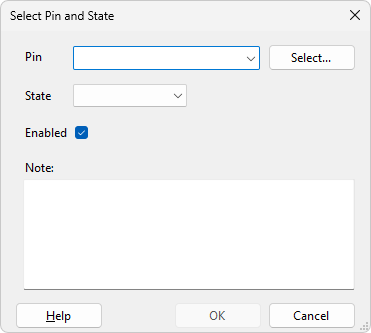
Figure 2: Select Pin and State
From here, there are two ways to select the pin you wish to configure. If you already know the reference designator and pin number of the device you wish to set, you can just type them into the Pin field, separated by a dot, eg U2.A3. As you type, the system will show you devices and then pins which match the text entered so far, and once you start entering the pin, it will also show the net connected to each pin, as shown in Figure 3:
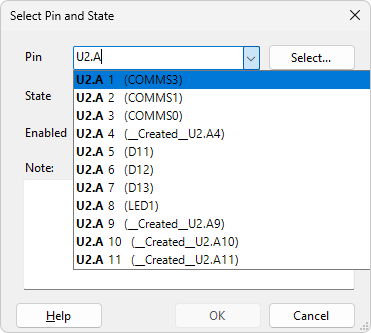
Figure 3: Selecting a pin
Alternatively, you can click Select to be shown a list of all devices in the project, allowing you to find the one you are interested in by category and then once you have selected the device, to choose the pin as well – as shown in Figure 4. As before, the net names are listed next to the pins to make it easy to find the correct one.
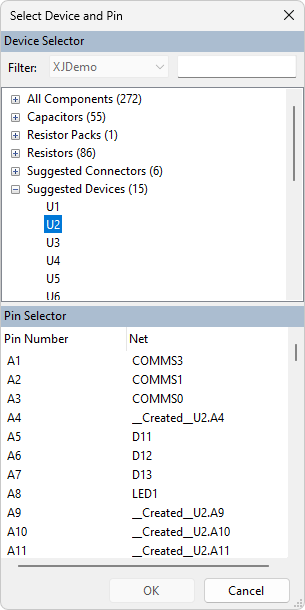
Figure 4: Select Device and Pin
When you have selected the appropriate pin, choose what State you wish to put it in:
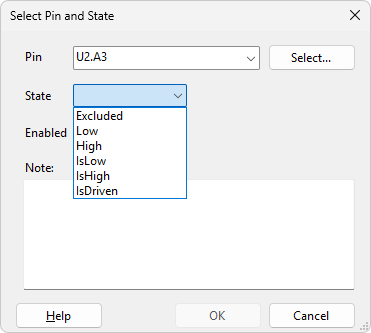
Figure 5: Setting the state for a pin[LB11.1]
Here, you can set the state of the pin to any of the six options:
- Excluded completely removes this net from the test. Pins on this net will not be driven and will not be read from.
- Low sets the net to a low state. This will be actively driven and XJTAG will, if possible, also check that the net has successfully been driven low.
- High sets the net to a high state. This will be actively driven and XJTAG will, if possible, also check that the net has successfully been driven high.
- IsLow tells the system not to drive the net, but to expect it to be in the low state. Connection Test will fail if the net is read high.
- IsHigh tells the system not to drive the net, but to expect it to be in the high state. Connection Test will fail if the net is read low.
- IsDriven tells the system not to drive the net; the net could be in either state depending on what the rest of the circuit is doing, however Connection Test will attempt to detect any shorts to this net while it runs.
We recommend that you set a Note as a reminder of why this Constant Pin is set, and what it affects – this will make it much clearer when you later return to the project.
- In XJTAG version 4.2, the value Input was renamed to Excluded.
- Excluded is typically used when you don't want your tests to be affected by signals on a net. For example, if a pin that you're not in control of is driving a signal into a JTAG device, you'd set the pin to Excluded. This both tells XJTAG to not worry about what signal appears on it and prevents XJTAG from driving the net against the signal. Doing this prevents false positives being found when looking for shorts, and prevents damage to the board.
- If a net mustn't be driven, however the state is either known or relatively stable, using IsLow, IsHigh or IsDriven allows for some testing to be performed. These options tend to be used less commonly, however they are better for test coverage than simply excluding pins.
Once you have configured your constant pin, click OK to finish. This will add the new setting to the list:
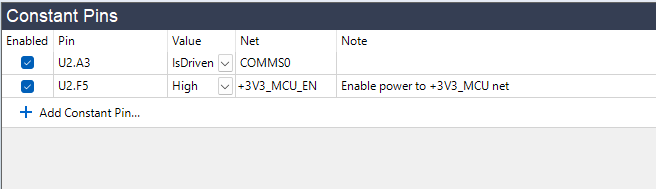
Figure 6: Constant Pins list
From this list, you can quickly enable or disable the Constant Pin setting using the checkbox or use the dropdown to change the value. These options can be useful during board debug. Additionally, you can use the controls at the bottom of the panel to Edit or Remove this Constant Pin. To display the pin in Explorer, Analyser, Schematic Viewer or Layout Viewer right-click on the Constant Pin or use the View dropdown menu at the bottom. Finally, you can also add additional Constant Pins with the Add Constant Pin... button under the list or the Add... button at the bottom of the pane.
XJTAG v4.3.0