Updating your XJEase Library
A guide to building a new version of your XJEase Library with updated library files.
Step 1: Open your Library Project
Click the  Open Library... button on the File menu or toolbar to open your library project (.libraryproj file).
Step 2: Document changes to your library files
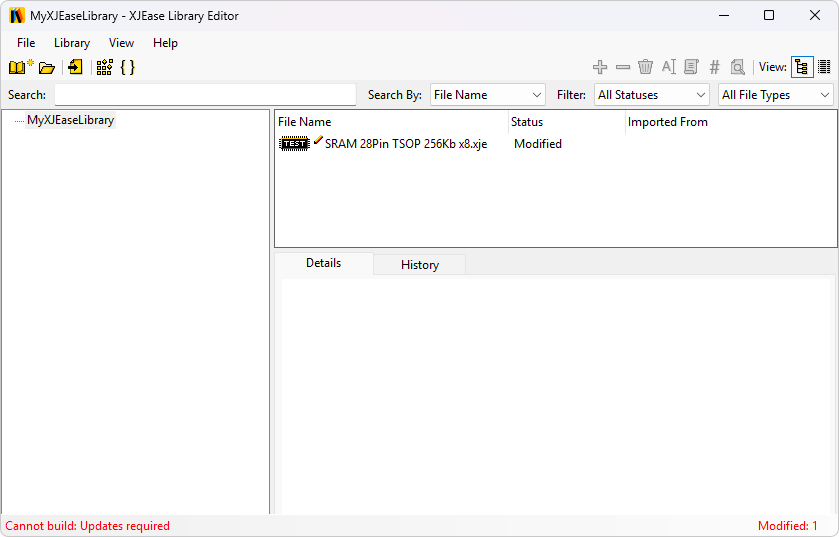
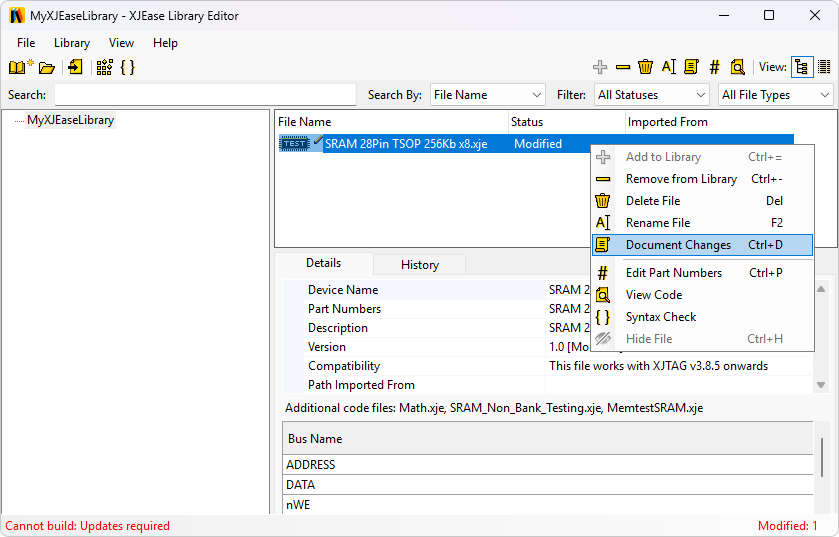
Any files whose contents have changed will appear as  Modified in the file list. To commit these changes you need to click the
  Document changes button in the toolbar or after right-clicking the file.
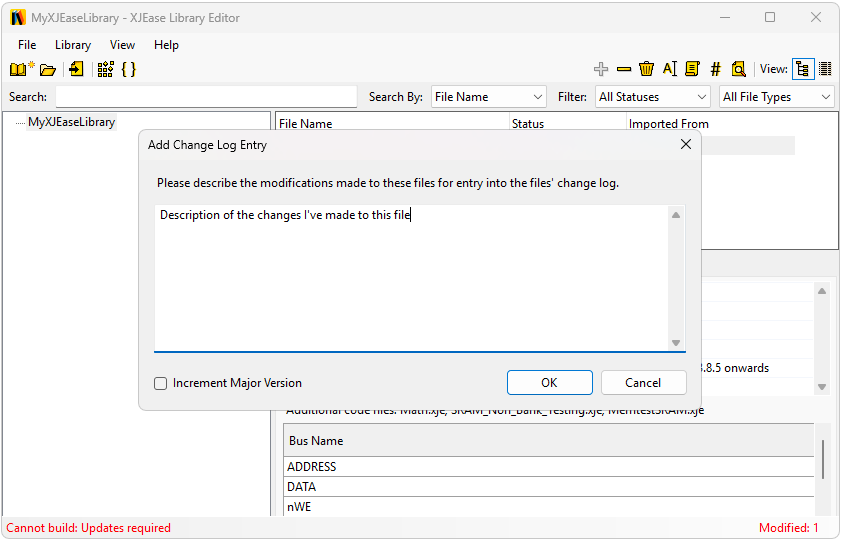
This will open the Document Changes dialog where you can enter a description of the changes made to be entered into the file's version history log. There is also a checkbox you can click if you want to increment the file's major version; the minor version is incremented by default. Making clear and detailed comments when documenting changes to your library files will ensure that when you come to updating your XJDeveloper projects, you will have a clear idea of how the updates will affect your project.
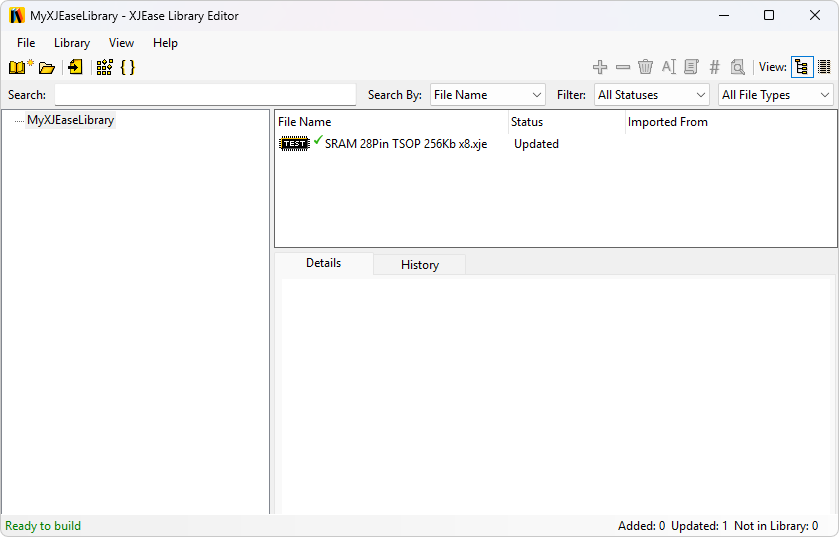
Step 3: Ready to build!
Once all modified files have had their changes documented, the status will update in the bottom left corner of the Library Editor window to show you are now ready to build. When you build your library, you will be prompted for a save location for the new build. Once your library is already in use in XJDeveloper, it is wise to overwrite the old build each time. This way the XJDeveloper library options don't require updating every time to point to your new path. Next time you open a XJDeveloper project containing files from your recently updated library you will be prompted to update any files that have changed.
XJTAG v4.3.0